
From blonde to brunette!
Last July, I had my hair colored at Vivere Salon in Robinsons Galleria. I wanted an ash gray / silver ombre, but that required at least five rounds of bleaching (I have thick, very black hair) and that was just too much for my hair strands, so I ended up going ash blonde instead.
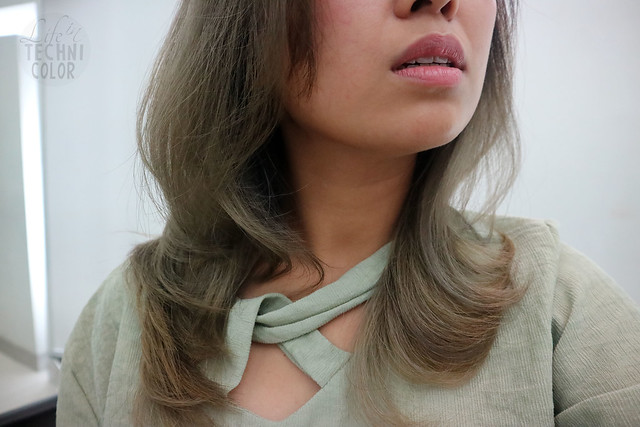
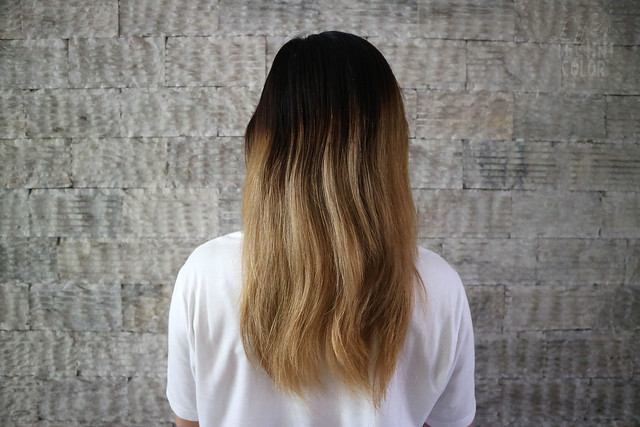
I liked it, I really did. It's just that, bleached hair is extremely difficult to maintain. I was told that the color would fade, and true enough, it did. I got my ombre sometime end of July and here's how it looked like mid-September - six weeks later, during my trip to Hong Kong (P.S. check out my Hong Kong Food Guide!)

So yeah, it was a mix of gold and blonde by then, and a bit too dry for my liking. I honestly couldn't wait to go back a couple of shades darker.
But I had apprehensions. I was worried that my hair would become weaker and more dry after re-coloring. What would I do then? So long story short, I ended up waiting two more weeks, and finally, one Saturday morning, I did it. I bought myself a box of Liese Creamy Bubble Color in Raspberry Brown.
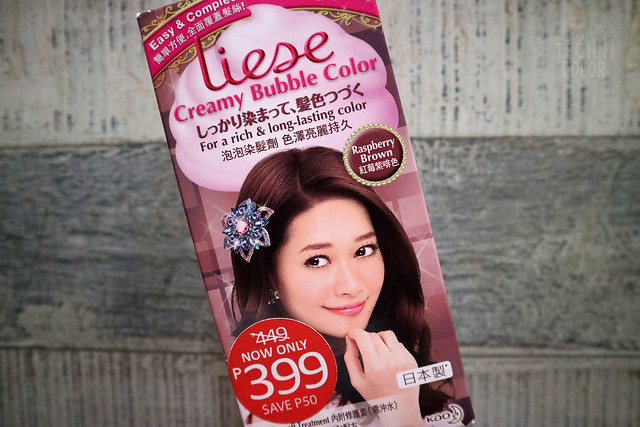
Raspberry Brown was actually the shade I wanted to go for last May when I did my first Liese hair color review, but I went with Marshmallow Brown instead since I figured Raspberry Brown wouldn't look evident when applied to dark colored hair. See Color Guide below:
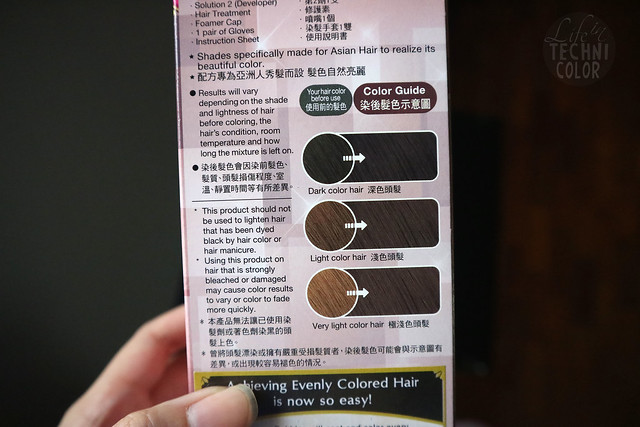
But this time around, I have very light colored hair (similar to the third shade on the box), so it was the perfect time to try it out!
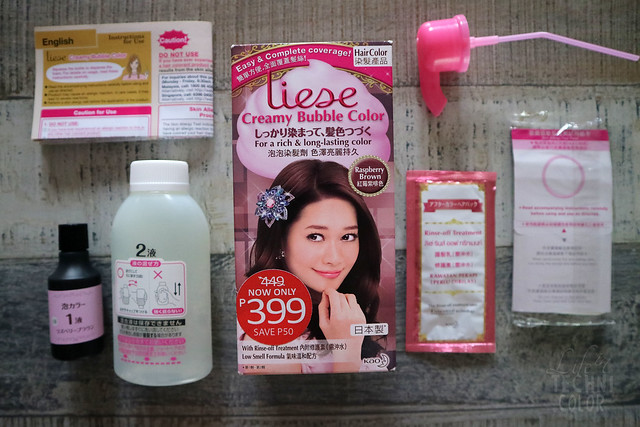
The before shot:
Here's what's inside the box:
- Solution 1
- Solution 2
- Hair Treatment
- Foamer Cap
- 1 Pair of Gloves
- Instruction Sheet
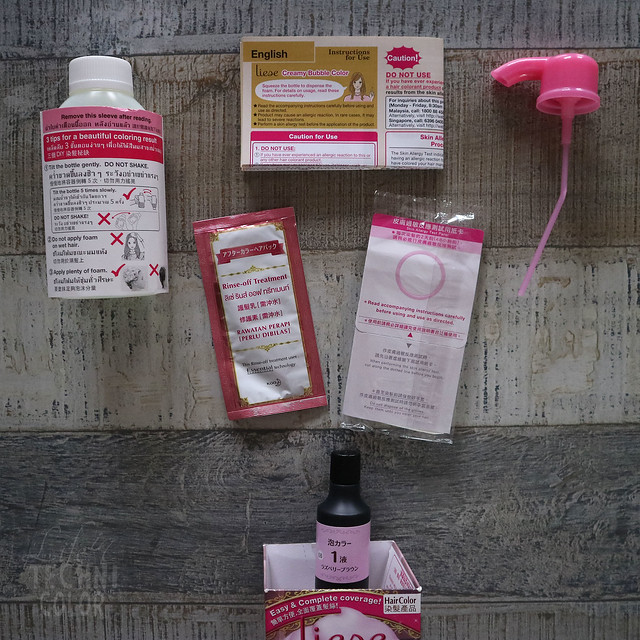
First thing you do is to take the Skin Allergy Test two days before you plan on coloring your hair. The purpose of this is to make sure that you are not allergic to any of the hair colorant ingredients. The instructions for this is pretty straightforward. All you have to do is take a couple of drops of Solution 1 and Solution 2 to the test panel and apply it onto the inside of your arm and leave for 48 hours. If no redness, itchiness, blistering, irritation or other skin abnormality occurs within that period, then you're all set!
P.S. I also recommend applying baby oil or petroleum jelly around the hair line, neck, and ears so you won't have trouble removing the color on unwanted areas afterwards.
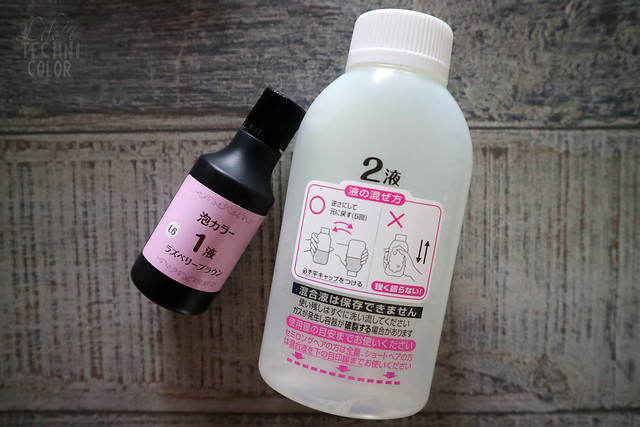
Pour all the contents of Solution 1 into the bottle of Solution 2 then close the lid. You then gently invert the container back and forth at a 180-degree angle until solution is well-mixed. The instructions suggest that you repeat this five times. Remember, do not shake. Just gently invert.
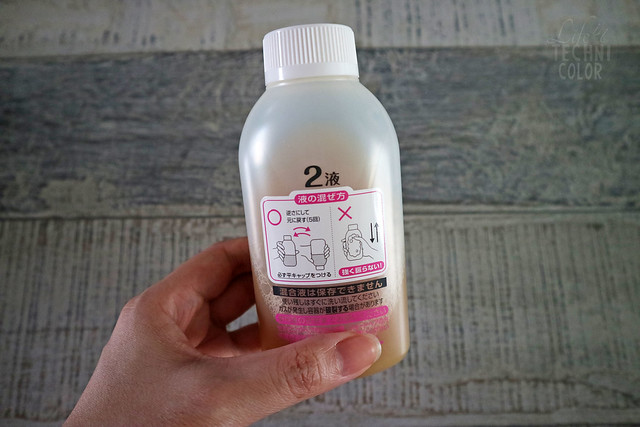

Once done, remove the white lid and replace it with the foamer cap. Make sure to twist it until it is tightly sealed.
Put on your gloves, hold the container in an upright position and squeeze the center of the bottle to dispense the foam. Last time, I had my sister help me to ensure the color comes out even, but this time, I decided I'd do it myself, since Liese claims that you can achieve even-colored hair all on your own.

Apply a generous amount of foam on dry hair and massage it into a lather. Using your finger tips, gently massage until hair is completely covered in foamy lather.
Rinse your hair thoroughly. Finish by shampooing and then applying the Rinse-off Treatment included in the kit.
The result... Looks kind of like rose gold, doesn't it?
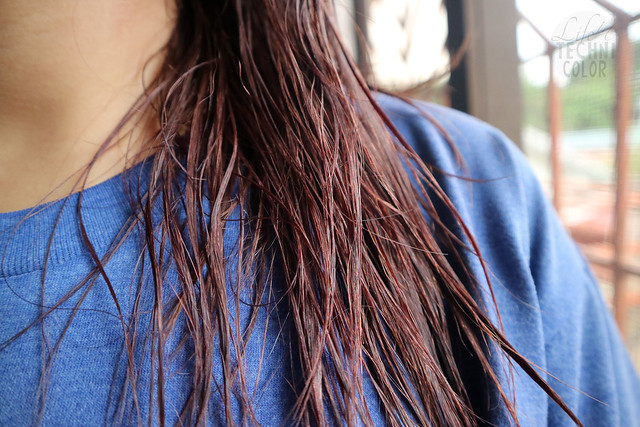
In just a few minutes, my hair has already turned a couple of shades darker - looks promising!! The box recommends you leave it for 30 minutes, but in my case, I left it for about an hour, since I wasn't sure how the color would hold up with bleached hair.

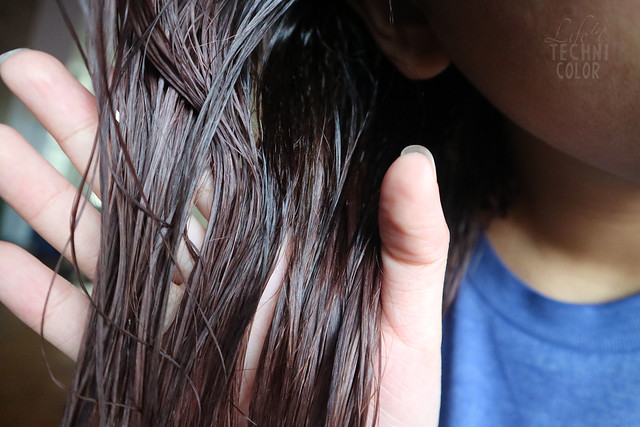
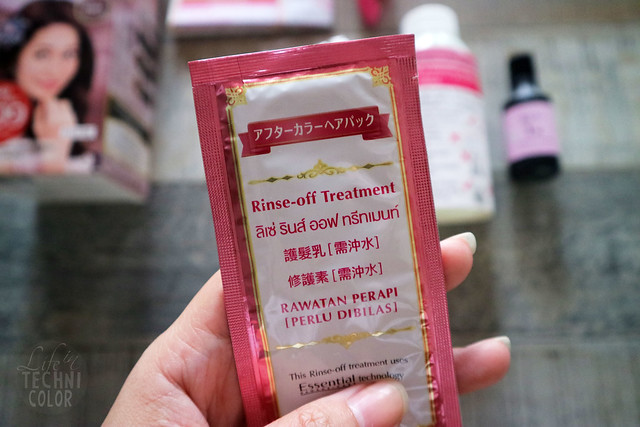
Rinse your hair thoroughly. Finish by shampooing and then applying the Rinse-off Treatment included in the kit.

The result... Looks kind of like rose gold, doesn't it?
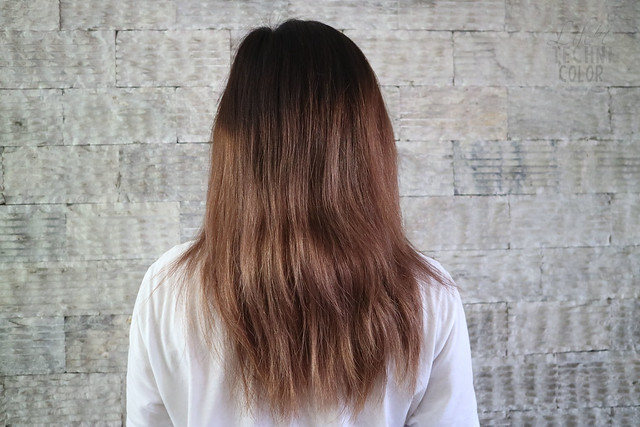
Here's the side by side photos of the before and after. What do you think?

My hair the day after:


It looks amazing under the sun!! I'm totally loving my new hair :)
